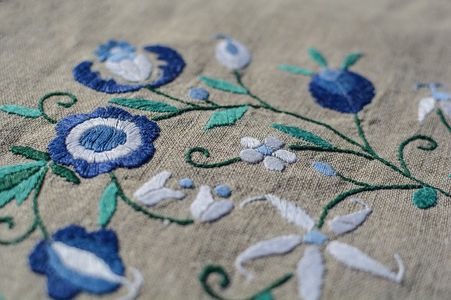
 Have you had a piece of clothing embroidered and wanted to change or remove and just didn’t know how? Well in this article I am going to discuss several ways you can easily remove embroidery.
There a couple things you will need to this though, you will need: seem ripper, tweezers, duct tape and a magnifying glass.
The key to removing both kinds of embroidery easily and without messing up your material, is a good light and the magnifying glass so you can see every stitch, or issue you may have without just tugging and ripping the material.
The Beginning: To Remove Embroidery
The very first thing to do is decide if you want to remove part of it or the entire piece. Once you have determined that you can see where to start your removal project at.
If you are removing the entire thing it does not matter where or which corner you start at, because it is all coming off.
You also have to try and determine if the embroidery was done by hand or by a machine.
There are a little different steps for each type.
If it was done by a machine it just means that the stitches are a little tighter and there is a bobbing stitch.
The hand sewn embroidery Remove:
If it is hand sewn on then it is not as tight of a stitch as a machine, so it should be a little easier to undo.
To begin this process you need to turn the article of clothing inside out and lay out of a flat surface where you can stretch out.
Make sure with each process you have good lighting so you do not accidentally hurt your clothing fabric.
Next with this process is to take your seam ripper and gently try to go underneath about 5 to 6 stitches at a time and gently push against them so they start to rip apart or cut apart.
Gently do this through out a small section at a time. Once you get a small section completed, then flip the clothing right side out and use the tweezers to pull the cut stitches out.
Stop if you have any resistance and flip it inside out again to see which stitch is not cut. Find that stitch, remove it then continue the process with removing the threads.
When you have removed all the threads, use a lent brush and run over the material to collect all the loose threads.
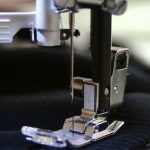
The machine sewn embroidery Remove:
When a machine embroiders something it is a much tighter stitch, so it is a little more difficult to get out.
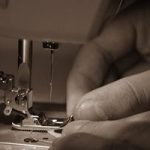
The first steps are the same as before you will need to flip the clothing inside out and lay in the palm of your hand.
At this point a machine sewn embroidery patch will be a little different you need to locate the bobbing stitch.
Once you have it slide your seam ripper underneath those bobbing stitches and begin cutting until 30 or 40 stitches are cut.
There should be a stabilizer between the shirt and the stitches. Cut all of the stitches until the stabilizer is exposed but make sure it don’t cut it because that is what will your protect your shirt/ material.
One you have done that through all the sections , again flip the shirt right side out and use tweezers to pull all of the stitches out.
You can then use the packing/ duct tape to remove any extra pieces, by placing it on the material and peeling it off.
The ending to wrap up your removal project:
In the end either way you have to remove your embroidery it should not be hard or difficult to do.
Each one is a little different and if it is from a machine then you have to locate the bobbing stitch. Other than that you follow pretty much the same steps until you have completely remove your embroidery.
Just remember that if you have any resistance to not tug or just yank the stitch out because that could damage your material!